

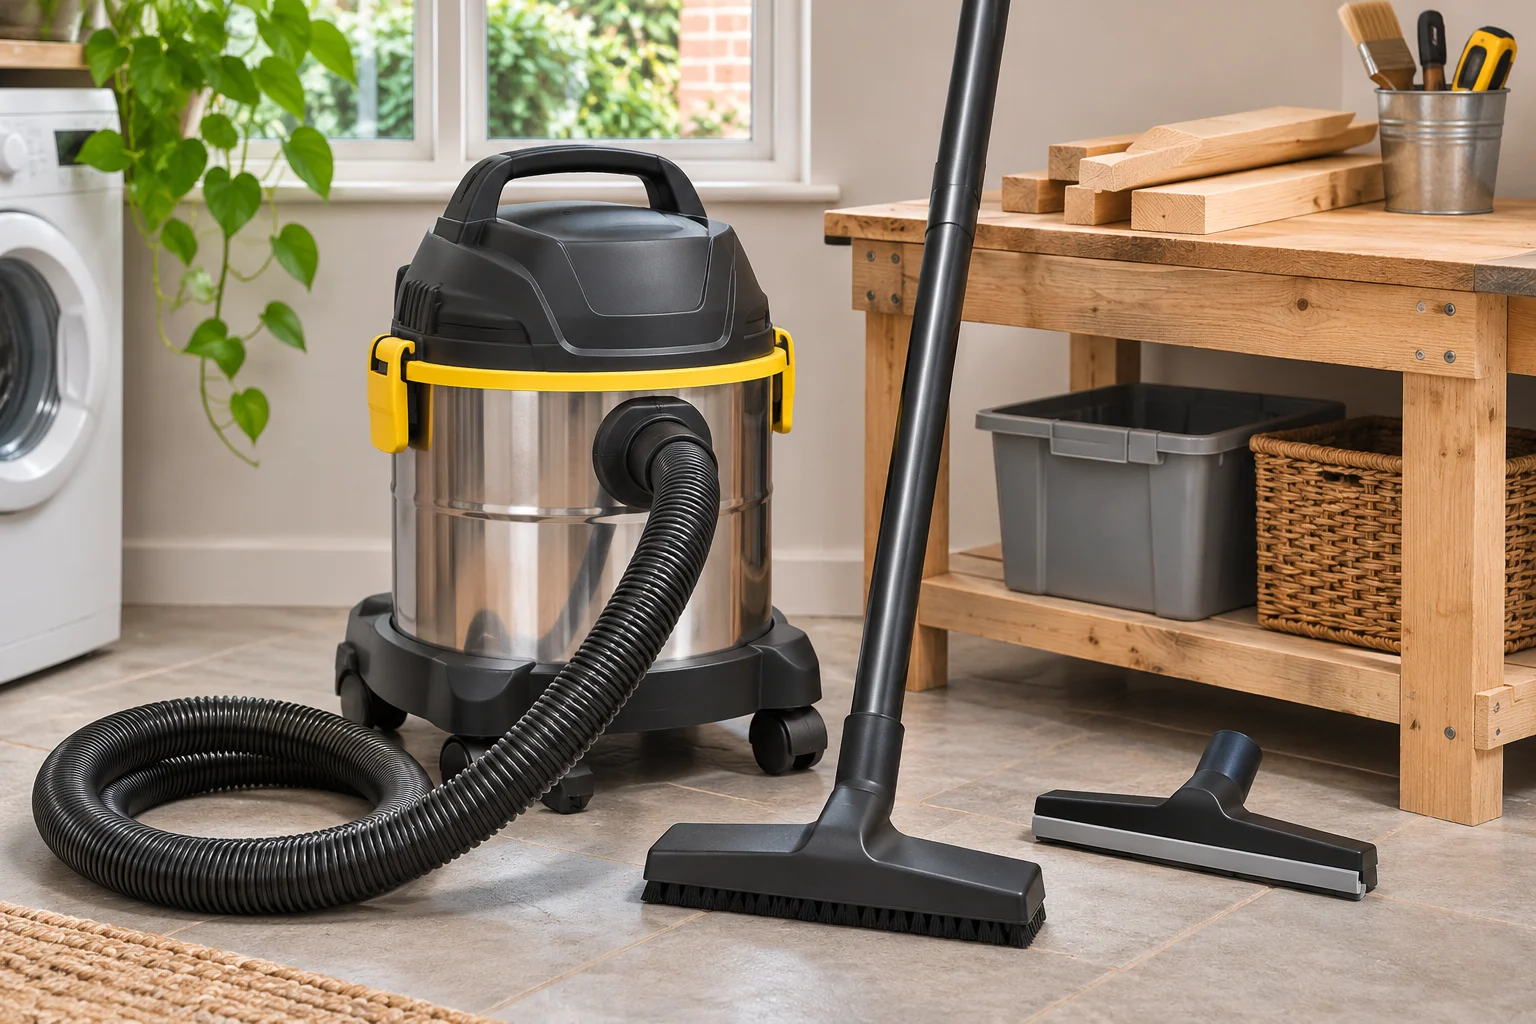
A wet and dry vacuum can make clearing up after DIY much easier, from wood offcuts and tracked-in grit to an accidental water spill. The useful choice depends on what you need to collect and where you’ll use it. This guide explains how to compare tank size, filters, hoses and tool sockets without paying for features that won’t help with your jobs.
Match the vacuum to the work
Think about the jobs you actually do. Clearing ordinary dry debris from a garage, emptying a small spill and connecting a sander to control airborne dust ask different things of a machine. A wet-pickup label alone doesn’t tell you whether the vacuum can safely handle every material.
On a phone, swipe across the table to see every column.
| Your main job | What matters most | Check before buying |
|---|---|---|
| Garage and DIY tidy-ups | Useful floor and crevice tools, manageable tank and easy storage. | Which nozzles and bags are supplied. |
| Everyday water spills | Wet-pickup setup and a tank you can empty safely. | The manual’s filter and bag arrangement for liquids. |
| Dust-producing power tools | Appropriate classified extraction, compatible hose and on-tool capture. | The material, required dust class and tool connection. |
For a product comparison covering general home-renovation jobs, see our best wet and dry vacuums guide. Its broad picks aren’t a substitute for choosing a classified extractor when the task calls for one.
Tank size: balance capacity with storage
A bigger tank can mean fewer trips to empty it, but it also takes more floor space and becomes awkward to move when full. Check the body dimensions as well as the stated tank capacity, especially if it needs to live in a cupboard or share a narrow utility room with other equipment.
The number on the tank isn’t always the amount of liquid you can collect before stopping. For example, Bosch’s AdvancedVac 20 manual distinguishes its nominal container size from its liquid capacity. Compare the figures that relate to your intended use, then consider whether you can carry and empty the container comfortably.
Filters, bags and dust class are different things
A filter traps particles as air passes through the machine; a collection bag holds dry waste and can make emptying tidier. Neither a bag nor a filter labelled HEPA makes an otherwise unclassified vacuum a certified dust extractor. Filter arrangements also vary by model. Kärcher’s wet and dry guidance, for example, recommends a bag for fine dry dust on several of its home models and no bag for liquid pickup. Follow the manual for the exact machine rather than treating that as a rule for every vacuum.
For cutting, sanding or chasing, the bigger issue is stopping dust entering the air in the first place. The Health and Safety Executive’s on-tool extraction guidance recommends an appropriately selected M- or H-class unit for many construction-dust tasks and explains that an L-class unit is only suitable for lower-toxicity dusts such as gypsum in plasterboard. The right control depends on the material and work: don’t assume a general garage vacuum is suitable for silica-containing dust, wood dust or unknown debris. If asbestos could be present, stop work and get specialist advice.
When is a power-tool socket useful?
Some vacuums have a socket that starts the suction when a connected tool runs. That can be convenient with a compatible sander or saw, but the socket is not a dust-safety rating. Check the socket’s permitted tool wattage, whether the hose fits the tool’s dust port, and whether the complete extraction setup is appropriate for the material. A short hose can tug at a tool or limit how you work even when the connector fits.
Look beyond the motor number
Wattage tells you about electrical input, not how neatly a nozzle collects debris from your floor. Compare the supplied floor head, crevice tool, hose reach and how easily the machine moves around furniture or a workbench. A place to park the hose and tools can matter more day to day than a small difference in stated motor power.
Check the price and availability of replacement bags and filters before committing to a model. A vacuum that needs a particular filter for your regular jobs is less useful if that consumable is difficult to obtain. Inspect the supplied kit too: similar-looking models may come with different nozzles, adaptors or bags.
Switching between dry and wet pickup
Before collecting a spill, switch off and unplug the vacuum, then set it up exactly as the manual says. That may involve removing a dry collection bag or changing a filter arrangement; it isn’t the same for every brand. Keep the plug, socket and cable away from the spill, and don’t use a damaged machine. Empty and dry the tank and any washable parts as directed before storing it or returning to dry work.
Do not use a wet and dry vacuum for flammable liquids, hot ash or unknown substances unless its instructions explicitly permit that use. These are not ordinary household spills. Where a leak involves electrical equipment, make the area safe before attempting cleanup.
A short buying checklist
- Write down the actual materials and jobs, especially whether dust will be produced by a power tool.
- Choose an appropriate dust class and extraction setup for the assessed task; do not infer suitability from a HEPA label.
- Check dry and liquid capacity separately if wet pickup matters to you.
- Confirm the hose, nozzles, tool adaptor, bags and filters supplied with the exact model.
- Make sure you can carry, empty and store the full-sized machine.
- Compare the cost and availability of consumables you’ll need repeatedly.
Frequently asked questions
Can I use a wet and dry vacuum for plaster dust?
Only where the exact machine, filter, bag and dust-control setup are suitable for the material and task. Fine dust can clog or escape from an unsuitable vacuum. For dust-producing work, follow HSE guidance on appropriate classified on-tool extraction rather than relying on a general-purpose machine.
Do I need a bag for wet pickup?
Many machines use a bag for dry waste but require it to be removed before collecting liquid. Filter requirements differ, so check the exact manual before switching modes.
Is a larger tank always better?
No. It needs emptying less often, but the machine takes more storage space and can be heavy and awkward when full. Compare its actual dimensions and the liquid capacity relevant to your jobs.
Does a power-tool socket mean the vacuum is suitable for construction dust?
No. The socket can automate switching, but suitable dust control also depends on the material, dust class, filtration, hose, tool and working method. Check the complete setup for the job.


 Sign up with Facebook
 Sign up with Google
