
Your Guide to a Site Location Plan for Home Renovation

Share
X
Copy Link
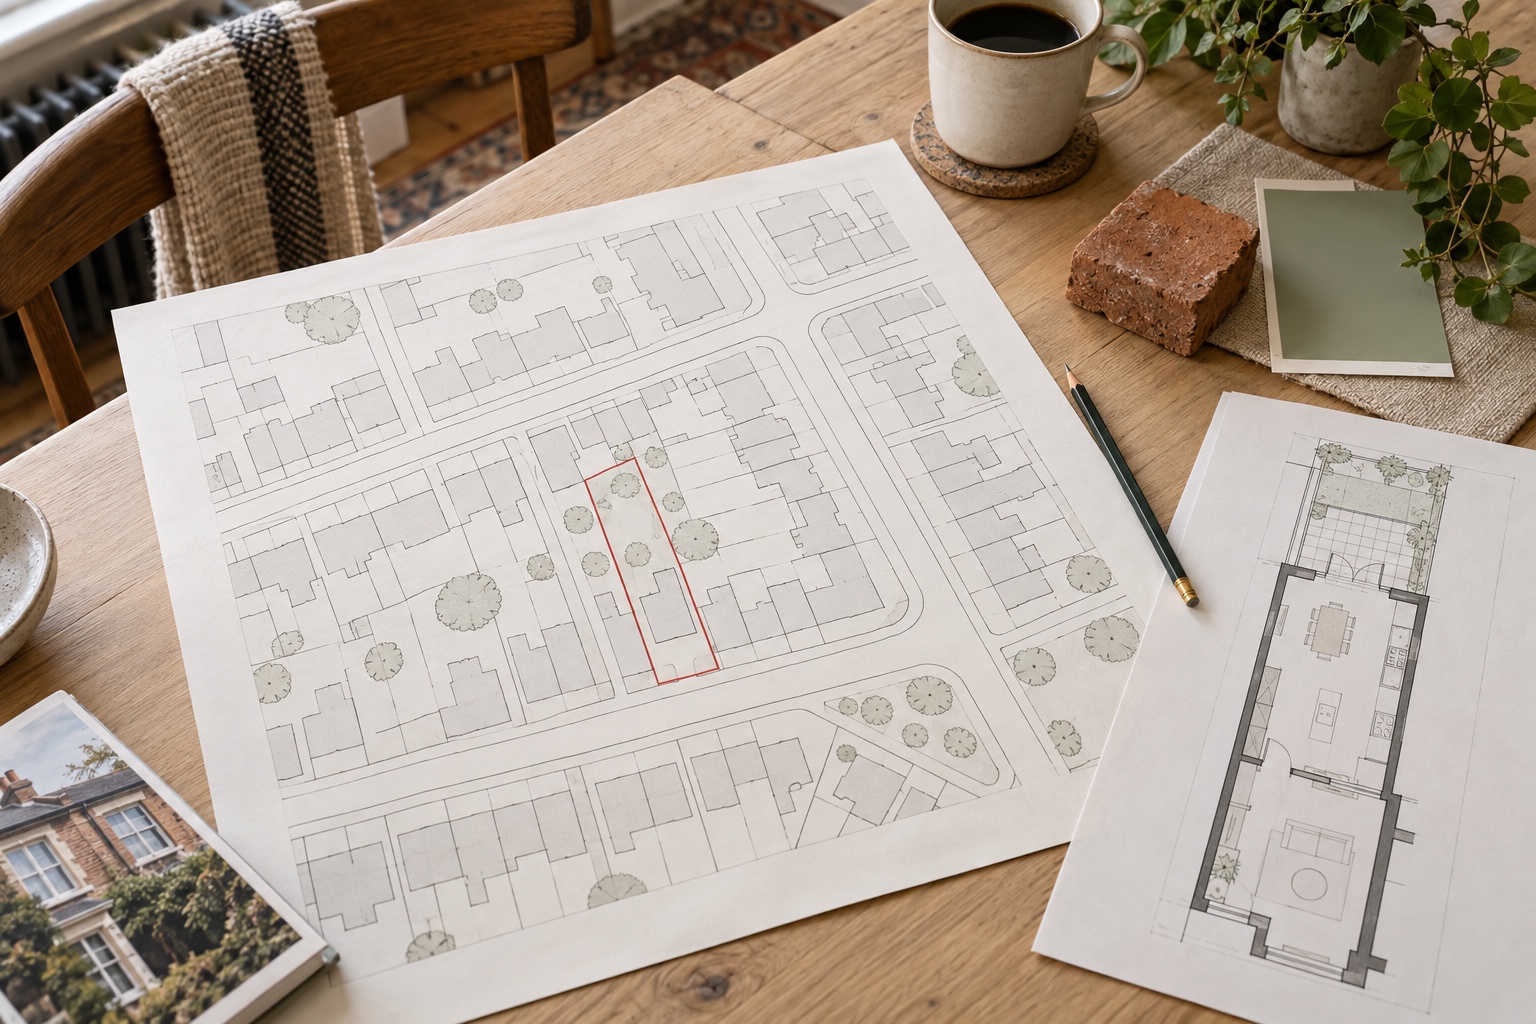
When you are planning an extension, it is easy to spend your evenings comparing rooflights, kitchen layouts and doors to the garden. The paperwork tends to feel less urgent. Then you open the application checklist and find a request for a site location plan, alongside drawings with several other unfamiliar names.
This is one document worth understanding before you order anything. A site location plan identifies the land involved in your application and shows where it sits in the surrounding area. Getting the right map gives you and your designer a clear starting point for assembling the submission, without confusing it with the drawings of your new space.
What is a site location plan
Think of it as the wider view of your project. It shows the application site among nearby roads, buildings and other mapped features, so someone who has never visited can identify it. It will not explain where your kitchen island goes or how the new roof is supported.
In England, national planning guidance says a location plan should use up-to-date mapping, typically at 1:1250 or 1:2500, and show enough surrounding context to make the location clear. Plans should have an identified scale and indicate north. The appropriate coverage depends on the site: a large plot may need a wider view than a compact suburban property.
Check the requirements for your particular application with the relevant local authority. Planning systems and requirements differ across the UK, so treat the conventions discussed here as an introduction focused on England.
How it differs from your other renovation drawings
The names can sound interchangeable when you first encounter them. A location plan establishes where the application site is. A site or block plan gives a closer view of the layout, including how buildings and external spaces relate to one another. Floor plans show the arrangement inside the building, while elevations show its external faces.
If your architect sends you a proposed ground-floor layout, that does not mean the location plan is covered. Equally, buying a map does not provide a complete set of architectural drawings. Ask for a simple list of what is included in your designer’s fee and what you need to arrange separately.
For the wider sequence of decisions, our guide to planning a house extension is a useful companion. Keep that overall project plan alongside your application checklist so that the mapping becomes one organised task within the renovation.
Agree who will prepare the plan
Before purchasing anything, check whether your architect or architectural designer already provides the location plan. It may be included in the planning drawing package, or they may ask you to obtain it. A quick conversation can prevent duplicate orders and help you choose the correct coverage and format.
If you are arranging it yourself, you can create a site location plan through PlanningMapsUK by finding the address, marking the application boundary and selecting the required output. Review the preview carefully and confirm the specification with whoever is handling the application before completing the order.
Have more than the postcode to hand. A corner plot, an unusually shaped garden or a property with access from another road may need a closer check. Identify the actual house and land on the map rather than assuming that the search result has selected everything you need.
Understand the red and blue lines
The red line marks the application site. It should include the land needed for the development, including necessary access, rather than simply tracing the footprint of the new extension. Other nearby or adjoining land owned by the applicant is shown with a blue boundary where applicable.
For a rear extension, this is a good point to discuss the whole plot with your designer. Show them the route from the road, the garden and any separate parking or access arrangements. If the boundary is uncertain or the project involves land beyond your own plot, resolve the relevant questions before finalising the drawing.
Avoid guessing from a fence line or using the red pen to indicate only where building work will happen. The person preparing the submission needs to understand what land the application includes. An attractive drawing cannot compensate for an unclear site description.
Use the wider view to improve your brief
Although the location plan has a practical role in the application, looking at the surrounding plot can also make your design conversations more useful. You might notice that an extension would narrow the only route into the garden, or that the proposed seating area sits close to a neighbouring building.
These are prompts for further investigation, rather than answers supplied by the map. Your designer will need appropriate measured information and an understanding of the site itself. Bring photographs and describe how you use the house now: where shopping comes in, where bikes live and which rooms feel disconnected from the garden.
Our architects’ advice on designing an extension can help you develop that conversation. Pairing a clear brief with an understanding of the plot makes it easier to explain what you want the renovation to achieve.
Check the file before it goes into the application
Set aside time to open the finished plan, rather than treating the download as the end of the task. Confirm that it identifies the correct property and that the application boundary matches the site discussed with your designer. Make sure the surrounding roads and buildings remain legible.
Check the stated scale and intended paper size before printing or inserting the map into another document. Resizing a drawing can change how its printed scale works. Keep the original file available and ask the person submitting the application how they want the documents supplied.
Give files clear names and keep the agreed versions together. If the proposal changes, ask your designer whether the mapping or other drawings also need an update. That small habit makes it easier to avoid sending an earlier drawing alongside the final design.
Make it a manageable part of the renovation
A site location plan is a small part of a much bigger project, but it helps everyone work from the same understanding of the site. Confirm who is preparing it, check the application requirements and review the finished document before submission.
Once that task is settled, you can return to the more enjoyable decisions with a better-organised project behind you. Choosing the doors, materials and layout is easier when the basic information about your home and its setting is already in place.
Published: September 22, 2026


 Sign up with Facebook
 Sign up with Google
