

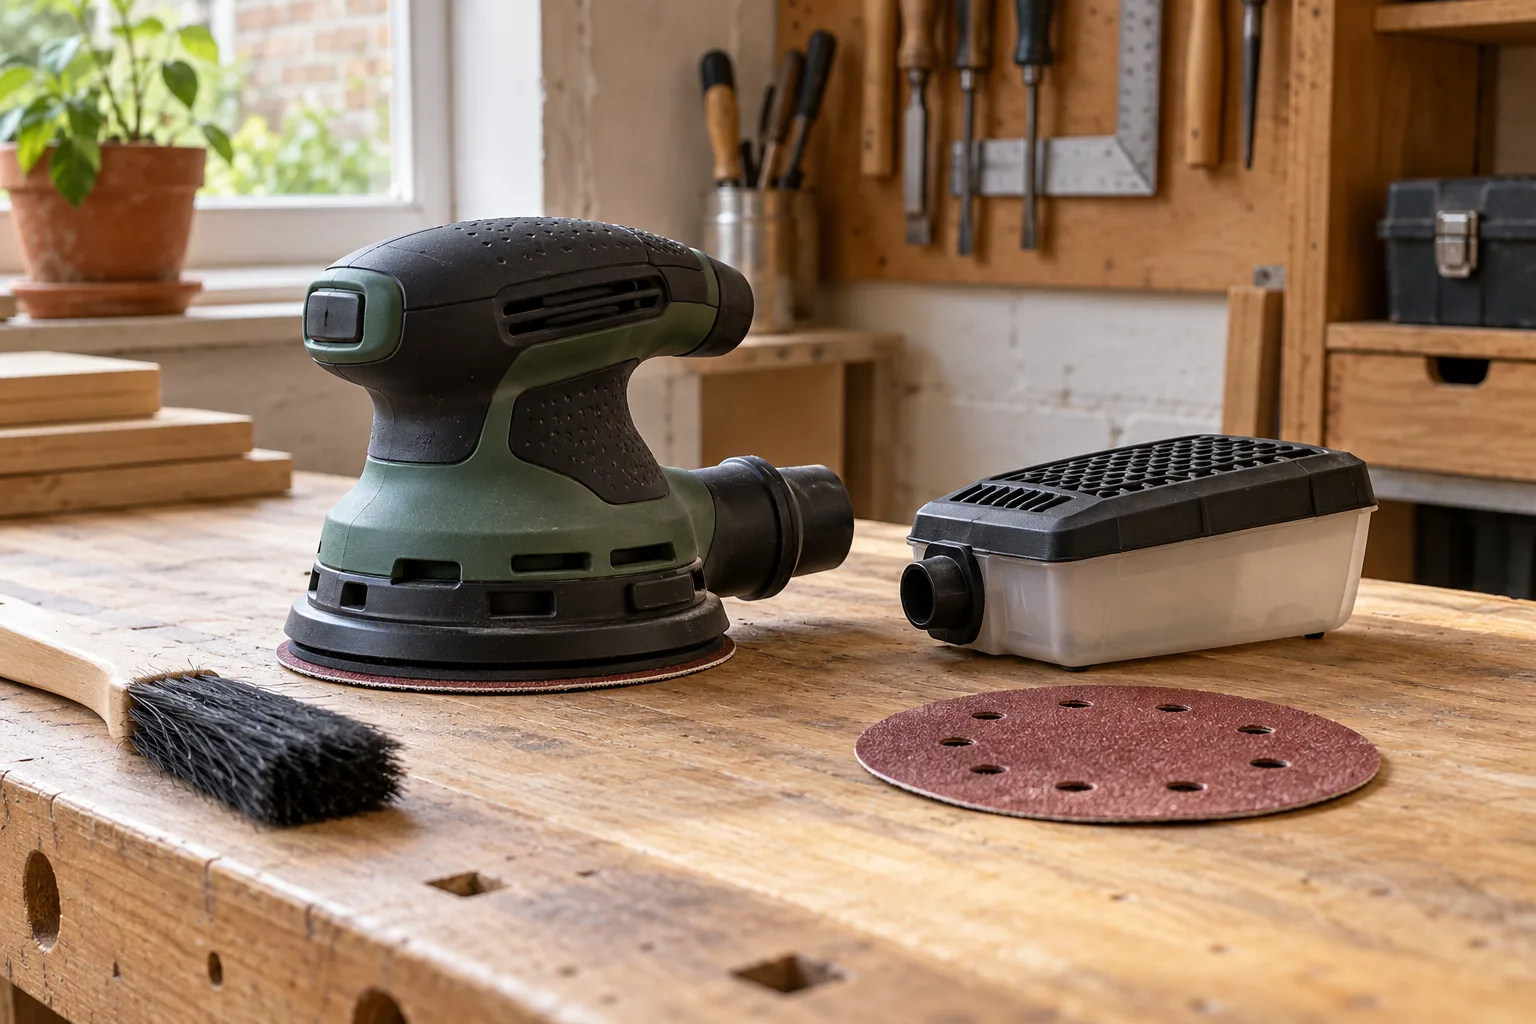
After sanding a door or a piece of furniture, it’s tempting to put the tool straight back in its box. A few minutes spent clearing dust and checking the pad can make the next job less frustrating—and help you spot worn parts before they spoil a finish.
Here’s a simple routine for a random orbital sander between jobs, plus the checks worth making before you use it again. Your exact manual takes priority, especially for opening the dust box, replacing the pad or cleaning a filter.
Before you clean it
Switch the sander off and wait for the pad to stop. Unplug a corded model, or remove the battery from a cordless one. Let the tool cool if you’ve been working for a while. Remove the sanding disc so you can see the pad underneath.
Check the material you’ve just sanded before dealing with the dust. Ordinary wood dust still needs care; older paint may contain lead. If you may have disturbed a lead-containing coating, don’t shake out the collector or dry-brush it into the room. Stop and get suitable advice on containment and clean-up. HSE’s lead guidance explains the risk from dry-sanding old paint.
Empty the dust box or bag
Follow the tool manual to detach the box or bag without spilling it across the workbench. Empty it into a suitable waste container, preferably where any dust can be contained. Don’t use compressed air or a dry brush to send fine dust back into the room. For wood dust at work, HSE recommends a suitable vacuum rather than sweeping or compressed air; the same principle is sensible when tidying up a home sanding job.
If your model has a filter, clean or replace it exactly as its manual says. Some filters are tapped out or brushed; others have different instructions. Don’t wash a paper or non-washable filter simply because it looks dusty. Let a washable part dry completely before refitting it. A blocked collector can make dust control worse even when the sander itself still runs normally.
Used a separate dust extractor? Switch it off, disconnect the hose and check the extractor’s own instructions for emptying and filter care. Our dust-extraction guide explains the connection and material checks before a job.
Check the sanding pad and vents
With the power disconnected, look at the hook-and-loop pad. If its surface no longer holds a disc securely, the edge is torn, or the pad is visibly damaged, fit the correct replacement for your model before sanding again. Bosch’s UniversalOrbit instructions, for example, tell owners to replace a damaged sanding pad and keep the dust system clear. Don’t glue a loose disc down or keep using a pad that lets it wander.
Clear loose dust from accessible vents and the outside of the tool with the method in your manual. Avoid pushing debris into an opening or using water near the motor, switch or battery contacts. If a vent stays blocked, a switch sticks or the tool makes a new grinding noise, stop using it and consult the manufacturer or a qualified repairer.
Look over the lead, battery and hose
On a corded sander, inspect the plug and cable for cuts, crushing or exposed conductors. Don’t tape over damage and carry on; arrange an appropriate repair or replacement. Wind the cable loosely for storage so it isn’t sharply bent at the tool or plug.
For a cordless model, check that the battery and contacts are clean, dry and undamaged. Store and charge the battery within the temperature and storage guidance for that exact battery system. A swollen or damaged battery should not be charged or used; follow the maker’s advice for safe handling and disposal.
If you connect an extractor, check the hose and adaptor for cracks or a loose joint before the next job. A neat, secure connection matters more than one that merely appears to fit. The sanding-disc and grit guide also explains why the holes in a new disc need to line up with the pad.
Store it ready for next time
Take off the used disc and keep clean, dry abrasives flat in their packaging, labelled by grit. Put the sander, dust box, hose adaptor and any model-specific spare pad together so the small parts don’t disappear between jobs. Choose a dry place away from knocks and damp; use the case if one was supplied.
Before you start again, refit a sound disc of the correct diameter and hole pattern, check the pad is secure, and reconnect the dust system. Test the tool briefly according to its manual before it touches the workpiece. If you’ve forgotten which grit comes next, use our disc and grit guide.
A short between-jobs checklist
- Power disconnected and pad stopped before cleaning.
- Dust box or bag emptied; filter cared for as the manual directs.
- Pad, vents, lead or battery, and extractor hose checked.
- Worn disc removed; clean abrasives stored flat and dry.
- Damaged parts replaced before the tool is used again.
Frequently asked questions
Can I wash the dust filter in my random orbital sander?
Only if the manual for your exact model says the filter is washable. Many filters are not. Follow its cleaning or replacement instructions and let any washable part dry fully before refitting it.
Should I leave a sanding disc on the pad in storage?
Removing a used disc makes it easier to inspect the pad and keeps dusty, worn abrasive away from clean replacements. Store fresh discs flat and dry so they stay in good condition.
How do I know when the sanding pad needs replacing?
Replace it if the hook-and-loop face will not hold a compatible disc securely, the pad is torn or the maker’s instructions identify other wear. Use the replacement specified for your model.
Can I blow the dust out of my sander with compressed air?
Avoid blowing fine dust around the room. HSE advises suitable vacuum cleaning rather than compressed air for wood dust at work. Use the cleaning method in your tool manual and the right controls for the material you sanded.
What if I sanded old paint before checking for lead?
Stop disturbing the coating and avoid dry brushing or blowing the dust about. Follow HSE guidance and seek competent advice on assessment and clean-up, especially if the paint could contain lead.
Does a blocked dust box damage the sander?
A full box or clogged filter can reduce dust collection. Empty or clean it when the manual directs; if the tool also overheats, sounds different or behaves unusually, stop and have the cause checked rather than continuing.



 Sign up with Facebook
 Sign up with Google
