

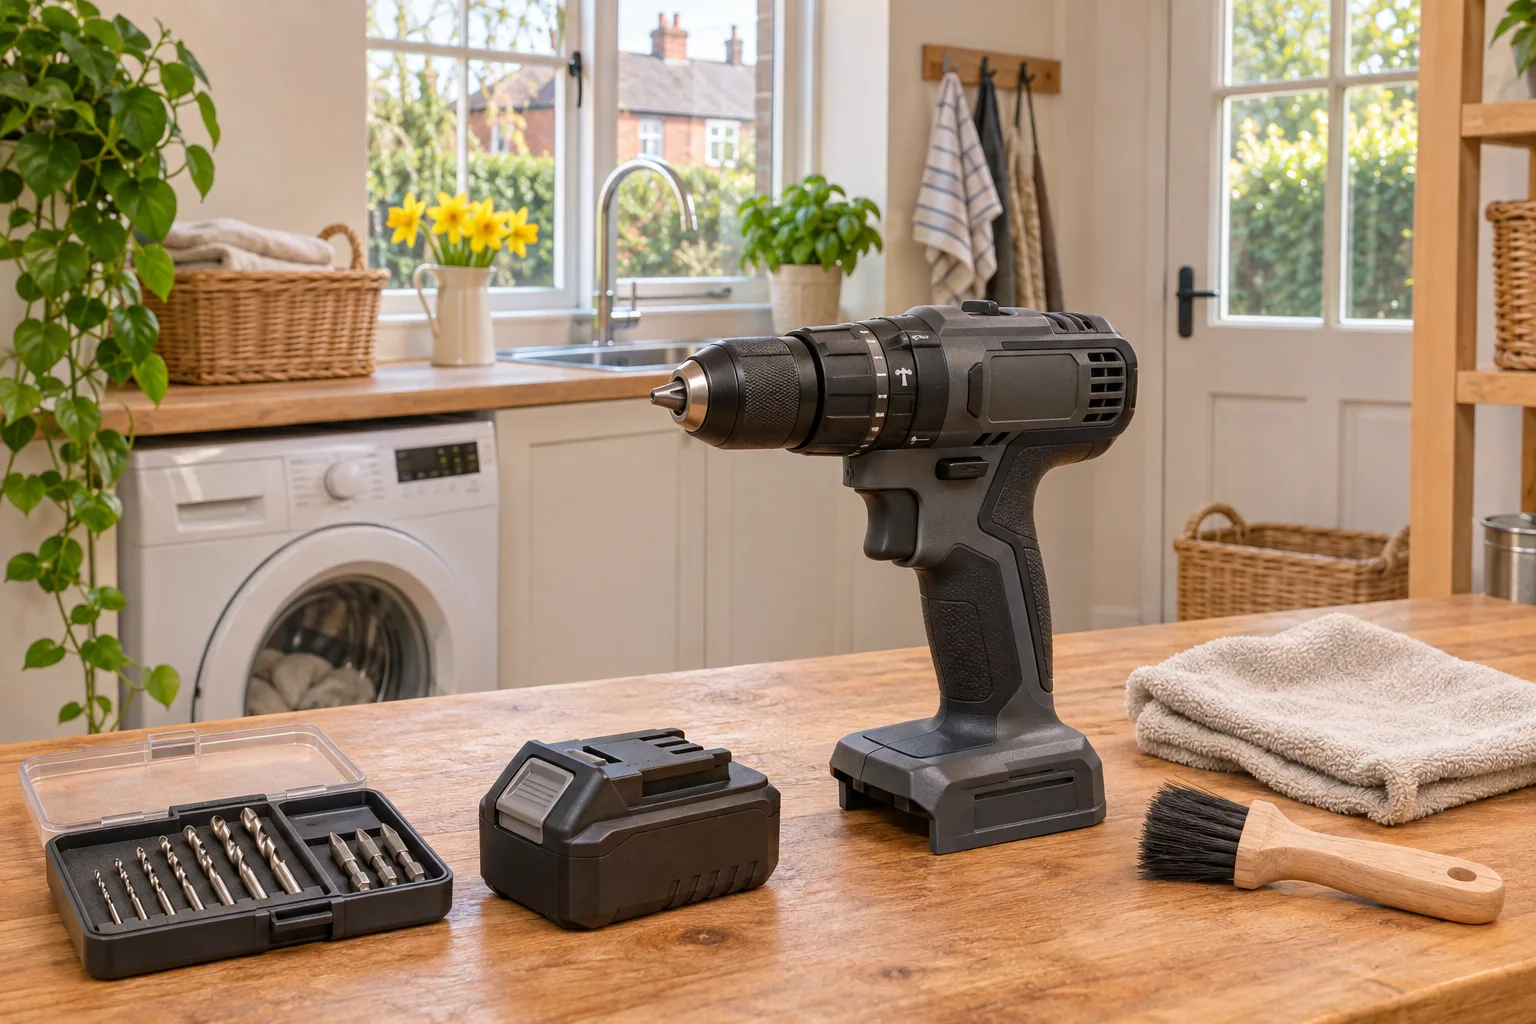
A little care between jobs can help keep your cordless drill ready for the next project. We’ll explain how to clean it after use, store the drill and battery, and check for signs of wear, along with when it’s best to get a problem looked at professionally.
Clean the drill after a dusty job
Take the battery out before cleaning or changing a bit, even if the trigger is locked. Remove the bit once it has cooled and brush loose dust from the outside of the chuck and the drill’s ventilation openings. A soft, dry brush or cloth is enough for everyday dust. Don’t push dirt into the openings or take the housing apart.
For marks on the outer casing, follow your own manual rather than using a strong cleaner or getting water near the motor. Bosch’s EasyImpact manual calls for a clean drill and clear ventilation slots, with the battery removed before maintenance. Don’t wet the battery, charger or inside of the drill.
Check the chuck and bits before putting them away
Wipe dust from the outside of the chuck and check that it opens and closes smoothly by hand, with the battery removed. Look at the bits too. A blunt or chipped drill bit can make you press harder than you should; a worn screwdriver bit can slip in the screw head. Replace damaged bits rather than forcing them through another job. Let any hot bit cool before handling or storing it, as Electrical Safety First advises.
If the chuck won’t grip a suitable bit, the drill makes an unusual noise or it smells hot, stop using it and check the manual or contact the manufacturer. Don’t open the tool or add oil simply because the chuck feels stiff: maintenance and lubrication requirements differ by model.
Store the drill and battery separately
Put the drill in its case or another clean, dry place where it won’t be knocked off a shelf. Remove the bit so the sharp end isn’t exposed. Keep the battery away from loose screws, nails and other metal objects that could touch its terminals. Ryobi’s battery-storage guidance also recommends a dry place away from heat and extreme cold.
For long storage, check the instructions for your exact battery rather than following a universal charge percentage. Manufacturers give different advice for different battery systems. Keep the charger dry, unplug it when you’ve finished charging, and use only a compatible charger. If your garage becomes very damp or cold, a dry indoor cupboard may be the better place for the battery.
Give the battery and charger a quick check
Before charging, look for cracks, swelling, damage to the contacts, unusual smells or signs that the charger cable is worn. Don’t use a damaged battery or charger. Electrical Safety First’s drill advice says to stop using a battery showing damage, smoke or unusual odours, and to charge on a stable surface using an appropriate charger. Don’t leave it charging overnight.
If the battery seems to run out much sooner than it used to, first check that it is charged and that the drill isn’t being asked to push a blunt bit through the wrong material. If the problem continues, follow the maker’s troubleshooting guidance. Don’t dismantle a lithium-ion battery or try to repair its cells yourself.
What to do before the next job
- Check that the drill body, chuck, battery and charger look undamaged.
- Choose a sharp bit for the material and make sure it is held securely.
- Check the charge and refit the battery only when you’re ready to work.
- For drilling into walls, check for hidden cables and pipes before you begin; a detector’s clear reading is not a guarantee.
Our cordless drill accessories guide helps you choose bits and fixings for the job. If your drill no longer suits the work you do, the buying guide explains what to look for before replacing it.
When the drill or battery reaches the end of its life
A tool that is unsafe or beyond repair shouldn’t go in the household bin. The same applies to its rechargeable battery. GOV.UK’s recycling guidance explains where to take electrical products and batteries, including retailer take-back and local recycling centres. Check the local arrangements before taking a damaged battery anywhere, and keep it away from metal objects while you arrange safe disposal.
How we put this guide together
We focused on the routine a homeowner can carry out without dismantling a drill: cleaning, checking bits, safe storage and spotting damage. The guidance comes from Bosch’s drill manual, Ryobi’s battery-storage advice, Electrical Safety First and GOV.UK, linked above. We haven’t tested a drill or battery for this guide. Your own model’s manual takes priority for cleaning methods and storage charge.
Frequently asked questions
Should I remove the battery before cleaning my cordless drill?
Yes. Switch off and remove the battery before cleaning the drill, changing a bit or checking the chuck. This prevents an accidental start while your hands are near moving parts.
Can I wash a cordless drill?
No. Brush away loose dust and follow the manual for wiping the outer casing. Don’t immerse the drill or let liquid enter its housing, battery or charger.
What charge should a drill battery have for storage?
Follow the instructions for your exact battery. Makers’ long-storage charge recommendations vary, so there isn’t one percentage that suits every cordless-drill system. Store the battery somewhere dry and away from extreme heat or cold.
What if my drill smells hot or the battery looks swollen?
Stop using it. Don’t charge or dismantle a damaged battery. Follow the maker’s safety instructions and seek appropriate advice about repair or disposal.

 Sign up with Facebook
 Sign up with Google
